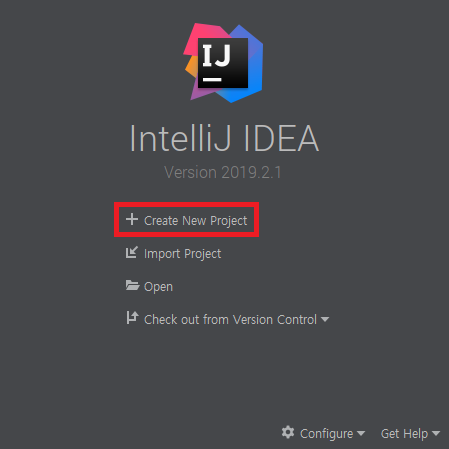
Intellij IDEA Ultimate 2019.2.1 버전을 사용했음.
New Project
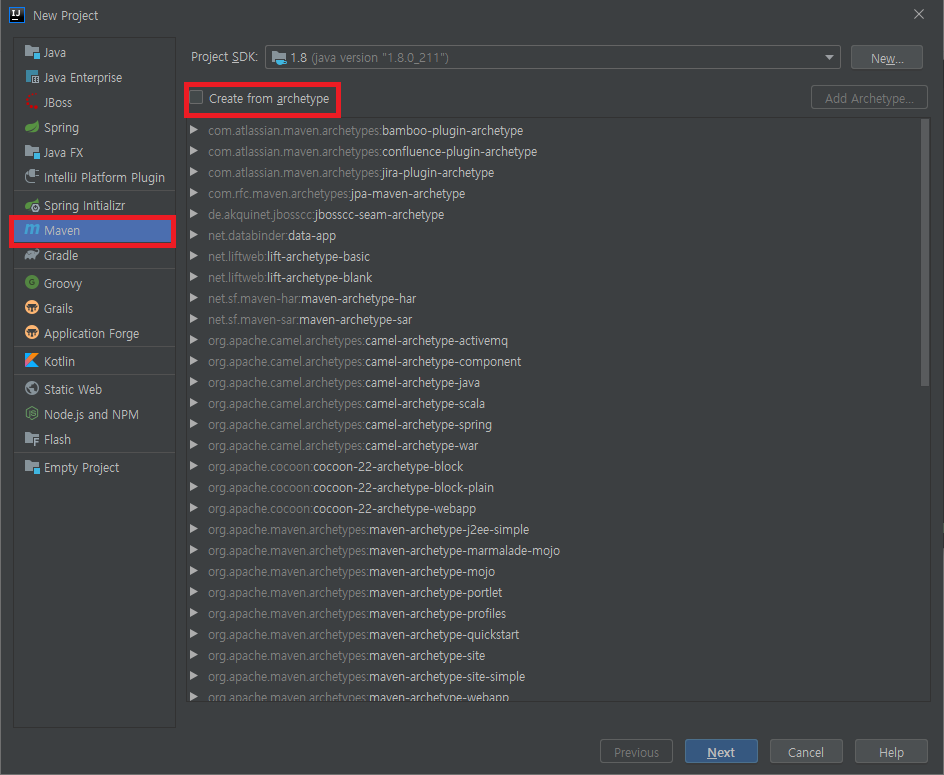
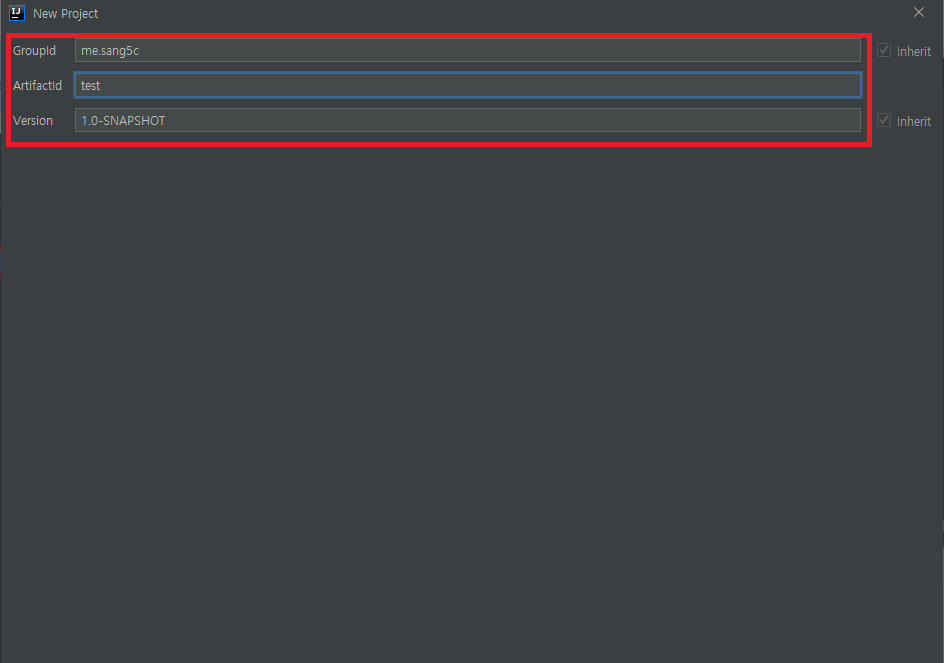
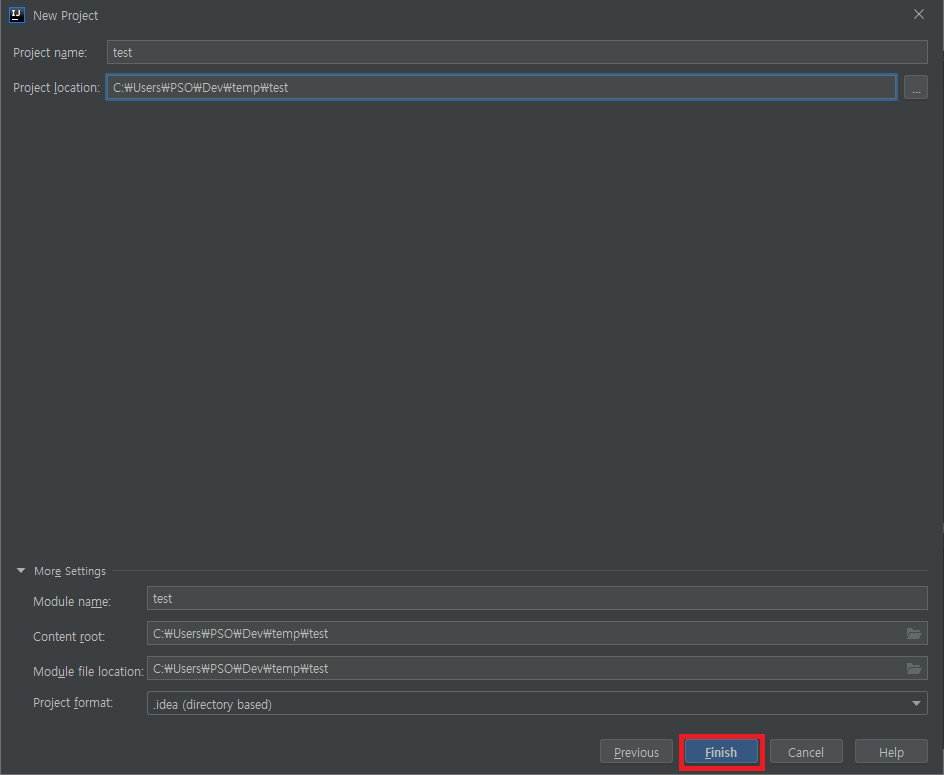

여기까지 하면 일단 메이븐 프로젝트가 생성이 완료된다.
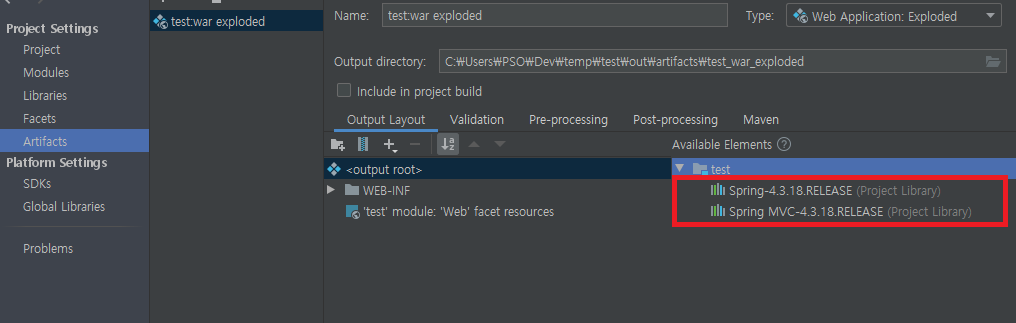
프로젝트 우클릭 후 add framework support


아래와 같은 구조가 자동으로 생성된다.

컨트롤러 만들어주기
package me.ps5.test;

import org.springframework.web.bind.annotation.GetMapping;
import org.springframework.web.bind.annotation.RestController;

@RestController
class TestController {

    @GetMapping("/")
    public String test() {
        return "HELLO";
    }
}
applicationContext.xml에 추가해주기
    <context:component-scan base-package="me.ps5.test"/>
    <mvc:annotation-driven/>
둘 다 어노테이션 찾아주는 애들
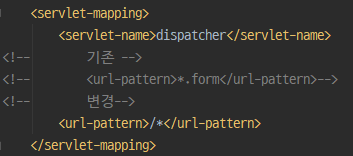
web.xml에서 dispatcher가 url을 받을 수 있도록 설정
'/'로 시작하는 모든 주소를 dispatcher servlet이 받도록 해준다.
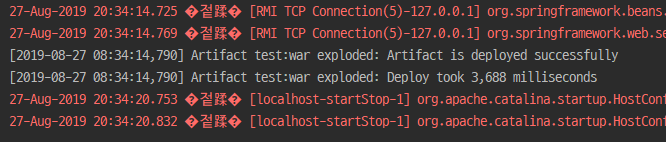
정상 실행되는모습. 근데 한글이 깨진다
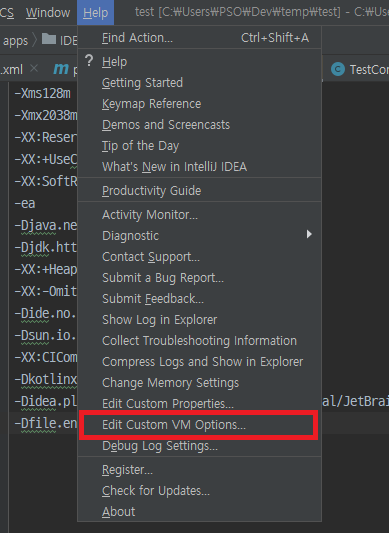
맨 아래에 한 줄 추가하고 intellij 재시작해준다.
-Dfile.encoding=UTF-8재시작이 귀찮으면 톰캣 옵션으로 직접 넣는다.

끝
intellij를 쓰지만 spring initializer를 안쓰는 저같은 분들을 위해 남깁니다.